
TrailMed K-Tape | Support | Feet
Unlock the benefits of TrailMed K-Tape for Plantar Fasciitis and Lateral Aspect of the Ankle support!
Please choose the area you'd like to tape below to access our easy-to-follow guide, video tutorial, and quick-reference image steps. Master K-Taping and find the support you need!
Plantar Fasciitis Support
TrailMed K-Tape is an effective solution for providing support and pain relief for plantar fasciitis, particularly beneficial for athletes such as cyclists, runners, and walkers. This taping method can help alleviate discomfort, reduce inflammation, and provide stability for the foot, enabling you to maintain peak performance and reduce the risk of further injury. TrailMed K-Tape can support various foot-related conditions, including plantar fasciitis, heel pain, arch strain, and general foot pain.

Follow these simple steps to tape to support Plantar Fasciitis:
Clean and Dry: Ensure the bottom of your foot, from your heel to your toes, is clean and dry to help the tape adhere better and stay in place longer.
Measure and Cut: Measure a piece of K-tape long enough to run from the base of your heel, along the arch of your foot, to the base of your big toe. Measure and cut a second piece from the outer underside of your foot across the top and onto the outer side of the top (this tape shouldn’t go all the way around). Round the corners of all tape pieces to prevent peeling.
Anchor the Tape: With your foot flexed slightly upwards, peel the backing off the anchor end of the main tape.. Apply this anchor to the bottom of your heel, either directly above your optional anchor strip or onto your heel. Apply the tape along the arch of your foot with a moderate stretch (around 50-75%). Continue applying the tape along the bottom of your foot towards your toes, ending at the base of your big toe with no stretch on the last inch or two. Take the second shorter piece and anchor across the centre of the previous strip and wrap with a moderate stretch around and over your foot, finishing on the edge. There should be a gap between the two ends.
Smooth the Tape: Ensure all edges are securely adhered to your skin. Gently rub the entire length of the tape to activate the adhesive and ensure it sticks well. Check comfort by gently flexing and pointing your foot to ensure the tape feels supportive without restricting movement.
Need extra help?
View the video, follow the step-by-step images or download the guide; you’ll be a taping pro soon!

Step 1 | Clean and Dry

Step 2 | Measure and Cut

Step 3 | Anchor and Apply

Step 4 | Smooth the Tape
Discover more tips and guides by heading back to the K-Tape How-To Home Page!
Lateral Ankle Support
TrailMed K-Tape offers effective support and pain relief for lateral ankle issues, a common concern for athletes like runners, hikers, and those involved in sports with quick lateral movements. This taping technique can help stabilise the ankle joint, reduce strain on ligaments, and alleviate discomfort associated with sprains or instability, allowing you to maintain activity levels and minimise the risk of re-injury. TrailMed K-Tape can support various lateral ankle conditions, including sprains, instability, and general ankle pain.
Follow these simple steps to tape your lateral ankle:
Clean and Dry: Ensure the outside of your lower leg, ankle bone, and the side of your foot are clean and dry to help the tape adhere better and stay in place longer.
Measure and Cut: You'll need two pieces of K-tape for lateral ankle support a stirrup piece measured from the inside of your lower leg, under your heel, and up to the outside of your lower leg and a horseshoe piece long enough to wrap around the back of your heel, connecting the ends of the first strip on either side of your ankle. Round the corners of both pieces of tape to prevent them from peeling off easily.
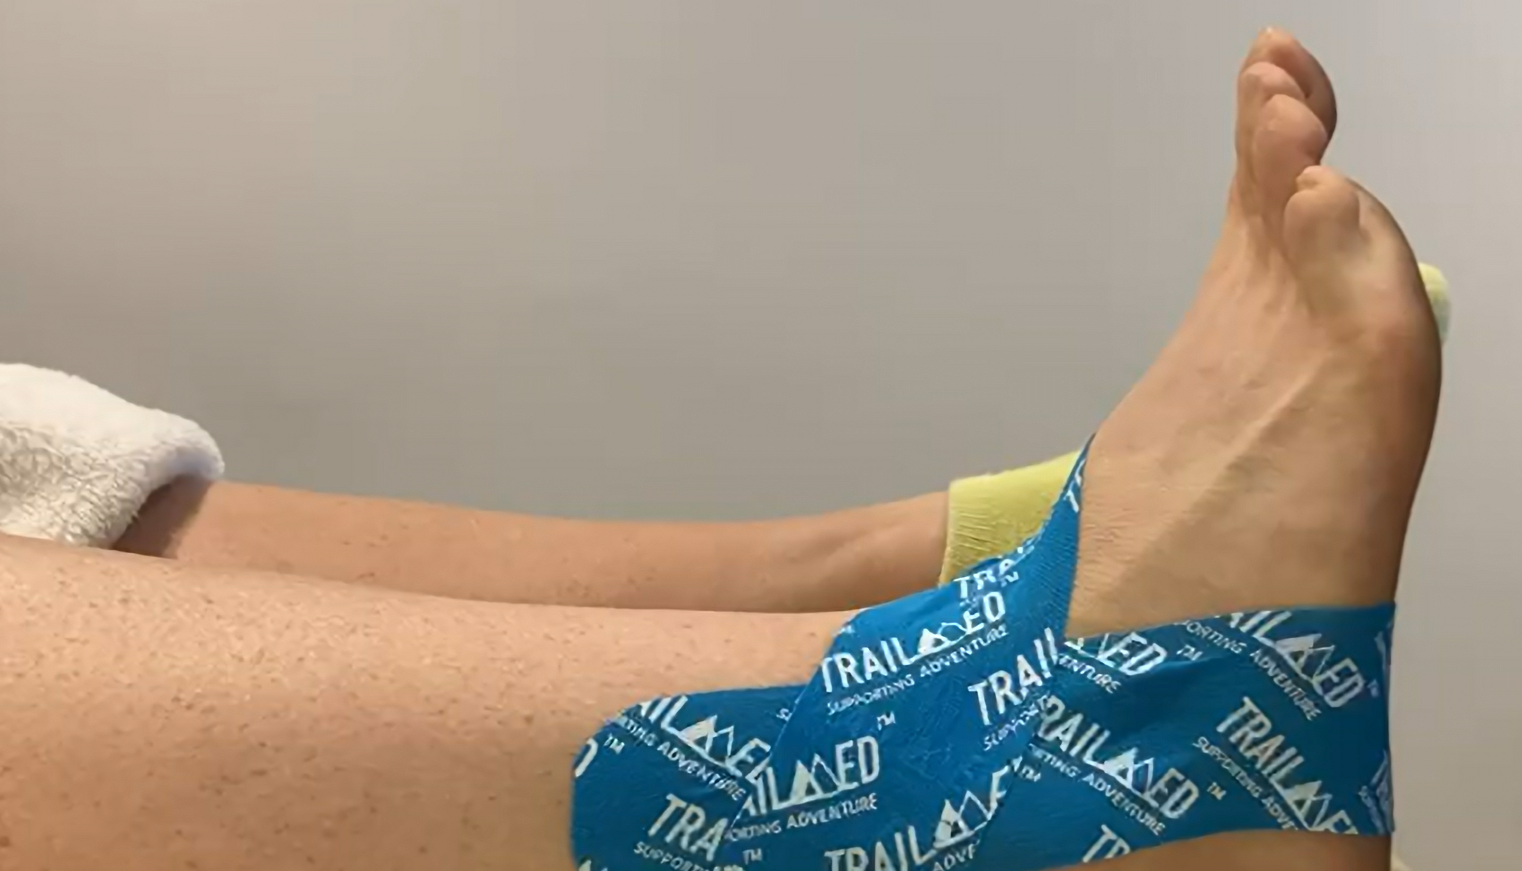
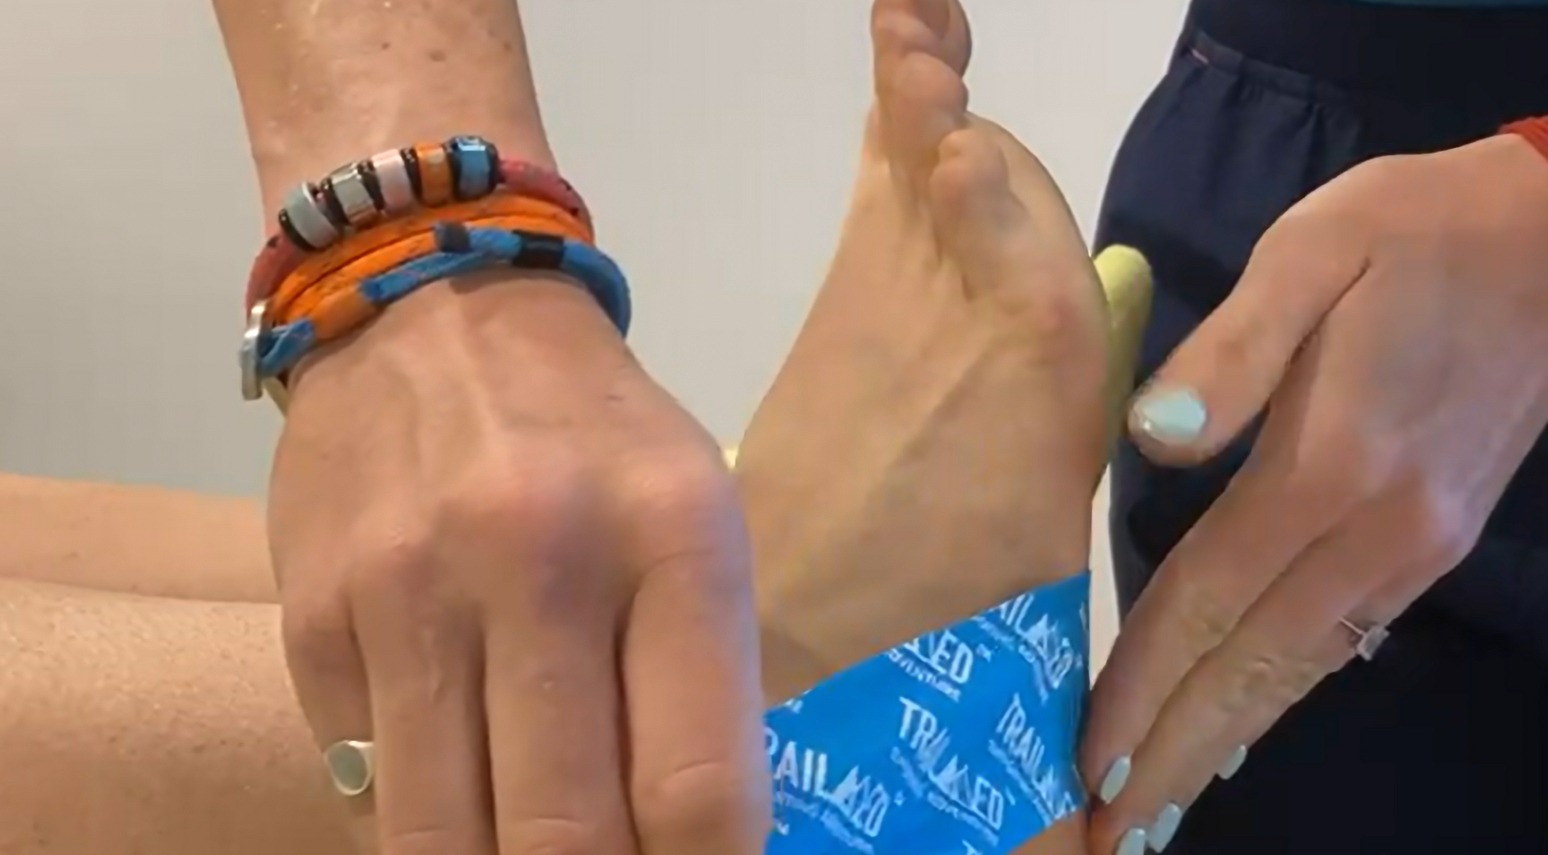
Anchor the Tape: With your foot held in a neutral (90-degree) position, anchor the middle of the stirrup strip on the arch of your foot, without any stretch. Apply the tape ends straight up each side of your leg (apply with a moderate stretch of about 50-75%). Anchor the horseshoe piece on the outside foot, overlapping the end of the first strip. Apply the tape with a light stretch (around 25-50%) across the front of the foot and then anchor above the ankle, overlapping the other end of the first strip.
Smooth the Tape: Ensure the edges of both pieces of tape are securely adhered to your skin. Gently press down the entire length of both strips to ensure they stick well. Check comfort by gently moving your ankle in different directions (up, down, and side-to-side) to ensure the tape feels supportive without restricting movement excessively.
Need extra help?
View the video, follow the step-by-step images or download the guide; you’ll be a taping pro soon!

Step 1 | Clean and Dry
Step 2 | Measure and Cut
Step 3 | Anchor and Apply

Step 4 | Smooth the Tape
Discover more tips and guides by heading back to the K-Tape How-To Home Page!